Category: Home

Custom Photo Holiday Card Review – Shutterfly vs. Tiny Prints

Hi and Happy Holidays!

I hope you had a wonderful Thanksgiving.  We missed our usual Thanksgiving dinner with friends due to the pandemic. Because we won’t see our friends in person this holiday season, I think sending cards is extra important this year! I was way more on top of things this year so I was able to order my cards well in advance and will hopefully get them all out by the first week of December!  I am usually a huge procrastinator and have been known to send them out December 22 or 23.  Oops!

I ordered from 2 companies this year so that I could sample a few different products.  I ordered from Shutterfly and Tiny Prints.  They are both owned by the same company but the target market and price point is a little higher at Tiny Prints.

Software

Both Shutterfly and Tiny Prints have similar software.  You upload your photos and you can drag and drop into a ton of different designs.  You can filter down the hundreds of designs by style of card (flat or folded), size of card, number of photos and the type of greeting you want to send (Christmas vs. Holiday vs. New Year).  The hardest part for me was to choose which photo I wanted to send as our main image.  Once I had that decided the rest was easy — I just had to choose which design fit our image the best.

Ordering Quantity

Shutterfly cards seem to have 2 different ordering styles. There are some which must be ordered in sets of 10, and there are some where you can order the exact quantity you need.  The card style I choose could be ordered in any quantity.

Tiny Prints cards come in sets of 5, with 10 being the minimum order per card style.

Pricing

Both Shutterfly and TinyPrints seem to always have some sort of special deal happening. Shutterfly lets you add any number of promo codes to your account and then it has an engine which will determine your best price.  Typically, you are allowed to combine one percent-off code and one dollar-off code.  For instance, you can combine a 30% off cards coupon with a $10 off cards coupon.

Tiny Prints allowed more than 1 promo code in the checkout page.  I didn’t come across a limit, but I did find that many promo codes conflicted with each other so I couldn’t combine them.

Regular price for 10 holiday cards starts at $22.90 for Shutterfly and $26.90 for Tiny Prints (with both vendors providing a cheaper per card price if ordered in larger quantities), however as I’ve stated above, there is always some kind of sale happening.  A more realistic price to shoot for is around 30% off–I’ve seen those sales often, and often even 40% or more is possible. Shipping starts at $7.99 for Shutterfly economy shipping and $5.99 for Tiny Prints economy shipping.

Delivery & Packaging

For an order of 25 cards made on 11/29, I was quoted the following:

Shutterfly’s estimated delivery window was 12/6-12/11 for economy shipping ($7.99), 12/8-12/10 for standard shipping ($11.99), 12/5 for expedited shipping ($19.99) and 12/4 for rush ($31.99).

TinyPrint’s estimated delivery window was 12/9-12/10 for economy shipping ($5.99), 12/8-12/9 for standard shipping ($9.95), 12/5 for expedited shipping ($14.95) and 12/3 for super rush ($24.95).

When I made my initial orders, the cards actually took a really long time to arrive.  I made my Tiny Prints order on 11/13, it was printed 11/20 and it arrived at my home on 11/26 — a full 2 weeks after I made the order!  I am not sure why it took so long to print because it was actually before the Thanksgiving holiday.

For Shutterfly, I ordered on 11/9, they were shipped out 11/10 and arrived on 11/14–a total of 5 days from order date which was great.  In fact, this was much quicker than the delivery of the photobook I had ordered in the same order!

My Shutterfly order came in a paper mailer.  My Tiny Prints order came in a sturdy box.  Both protected the cards but the envelopes from Shutterfly had a slight crease in the corner where they had jammed up against the mailer edge.  No big deal, but I thought I’d mention it.

Tiny Prints Box
Tiny Prints Box
Shutterfly Paper Mailer

Product & Paper

Both the companies delivered a beautiful product.  Ultimately, I was happy with both of them, but here are a few details that I noticed.  The family portrait I chose printed well on both cards.  I think I have to give the slight edge to Shutterfly though.  I think it just came out a little clearer there, but it is almost too close to call.

Shutterfly had a few cards which had some color transfer onto the back of the card where it was white.  I ordered a foil printed card and I think the foil is a beautiful accent.  It really makes the card feel a little more special.

Shutterfly Foil Card
Color transfer smudges
See the pink arrows for where you can see color transfer smudges

TinyPrints cards were printed on really nice thick paper.  I ordered 2 sets of letterpress cards and was happy with one set but mildly disappointed with the other.  The 2 designs I ordered were Naturally Happy and Joyous Tradition.  Naturally Happy had the deep indentations (I googled this and it is called “bite”) so the tactile experience of running my fingers over the print was what you’d expect from letterpress.  Joyous Tradition was printed with very shallow bite.  On the other hand, because Naturally Happy had such a deep bite, it showed through on the back.  I ordered my wedding invites in letterpress and didn’t have this problem.  Granted, wedding invites cost a wee bit more than Tiny Prints, but it is something to consider if you’re thinking about ordering Tiny Prints letterpress cards.

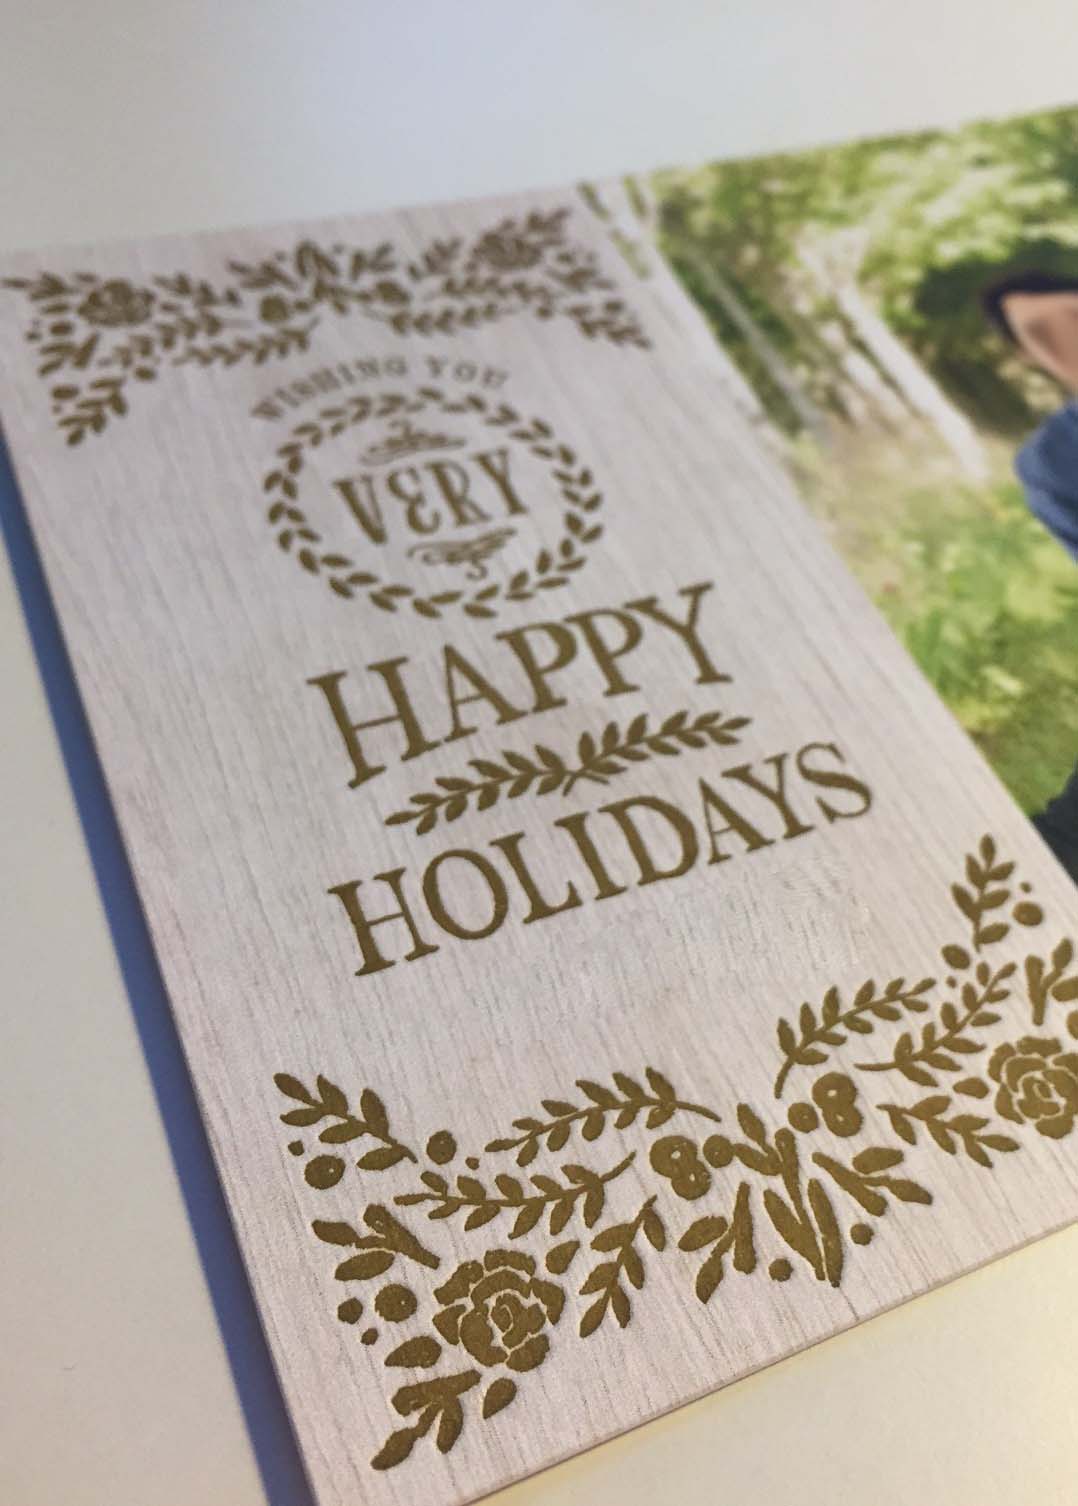
TinyPrints Letterpress Card Detail
Tiny Prints Letterpress Card Detail – Joyous Tradition.  The letterpress bite was impossible to capture since it was so shallow.
TinyPrints Letterpress Card Detail
Tiny Prints Letterpress Card Detail – Naturally Happy. You can see the letterpress bite in the flowers near the bottom.
Shutterfly vs. TinyPrints Paper Comparison
Shutterfly vs. Tiny Prints Paper Comparison

Overall

Overall, I was pretty satisfied with both sets of cards and companies.  I wouldn’t use either company without a really great coupon or sale, as it gets to be quite pricey to order 30+ cards.  I thought that for the price I paid, the Shutterfly cards were a better “deal” though the Tiny Prints cards were certainly more luxurious.  They definitely appeal to slightly different price points and I think its great to have options whether you’re making an order for holiday cards or birth announcements.

Are you ordering holiday cards this year? Which company is your favorite?

 

How To Keep Your Digital Photos Safe

Soon after my daughter was born, we booked a newborn shoot which yielded some amazing photos that I will cherish forever. I also took massive amounts of photos of my new little one with my own camera. I wanted to make sure that these photos would be safe and protected from various threats and disasters. Hard drive failure is one of the most common things to happen to a computer. I also worried that someone may break into my home and steal my computer.

Cloud Backup for Photos

To mitigate these threats, I started looking into a cloud based backup service. I wanted to find a solution which was:

  1. Affordable
  2. Dependable
  3. Secure
  4. Provided automated backups
  5. Provided an easy way to retrieve data

The solution I found that met all of my criteria was CrashPlan!  I love the service so much I’ve recommended it lots of times to friends and family

CrashPlan Best Cloud Backup For PhotosCrashPlan offers a free and paid version of their service. The free service will backup to other computers, and to the CrashPlan servers, but files will only remain there for 30 days.  The paid service will back up your data from 1-10 computers (1 computer is an Individual account, 2-10 requires a Family account) to CrashPlan in the cloud. Backups stay on their servers as long as you have an active subscription, and they will also keep multiple versions if the file has changed.

To get started, you download the CrashPlan desktop client and start configuring it. After that, it starts the process of uploading your data to their servers. The application will monitor your hard drive for new files and changed files and upload to the CrashPlan servers (labeled below as CrashPlan Central). It is also nice to see how much data will be uploaded and how long it will take. I also receive an email on a weekly basis telling me how many files/how much data has changed.

CrashPlanClient

CrashPlan encrypts your data before uploading, so even if their servers are attacked, your data won’t be exposed. You can restore your data via any browser or the CrashPlan desktop client.

An Individual account is very affordable, at only $59.99 per year. This really gives me peace of mind that my photos and data are safe.

Multiple friends recommended Dropbox. While I do love Dropbox, it didn’t meet all of my criteria. Dropbox Pro only provides up to 1TB of storage and is $9.99/month (or $99/year). I have a massive collection of photos and video that I wanted backed up, so Dropbox was out.

Blue Apron Review

I’m sure by now you’ve heard of the new trend of meal box delivery services. Blue Apron is one of them, but there are at least a dozen companies by now that will ship you everything you need to cook a few meals.

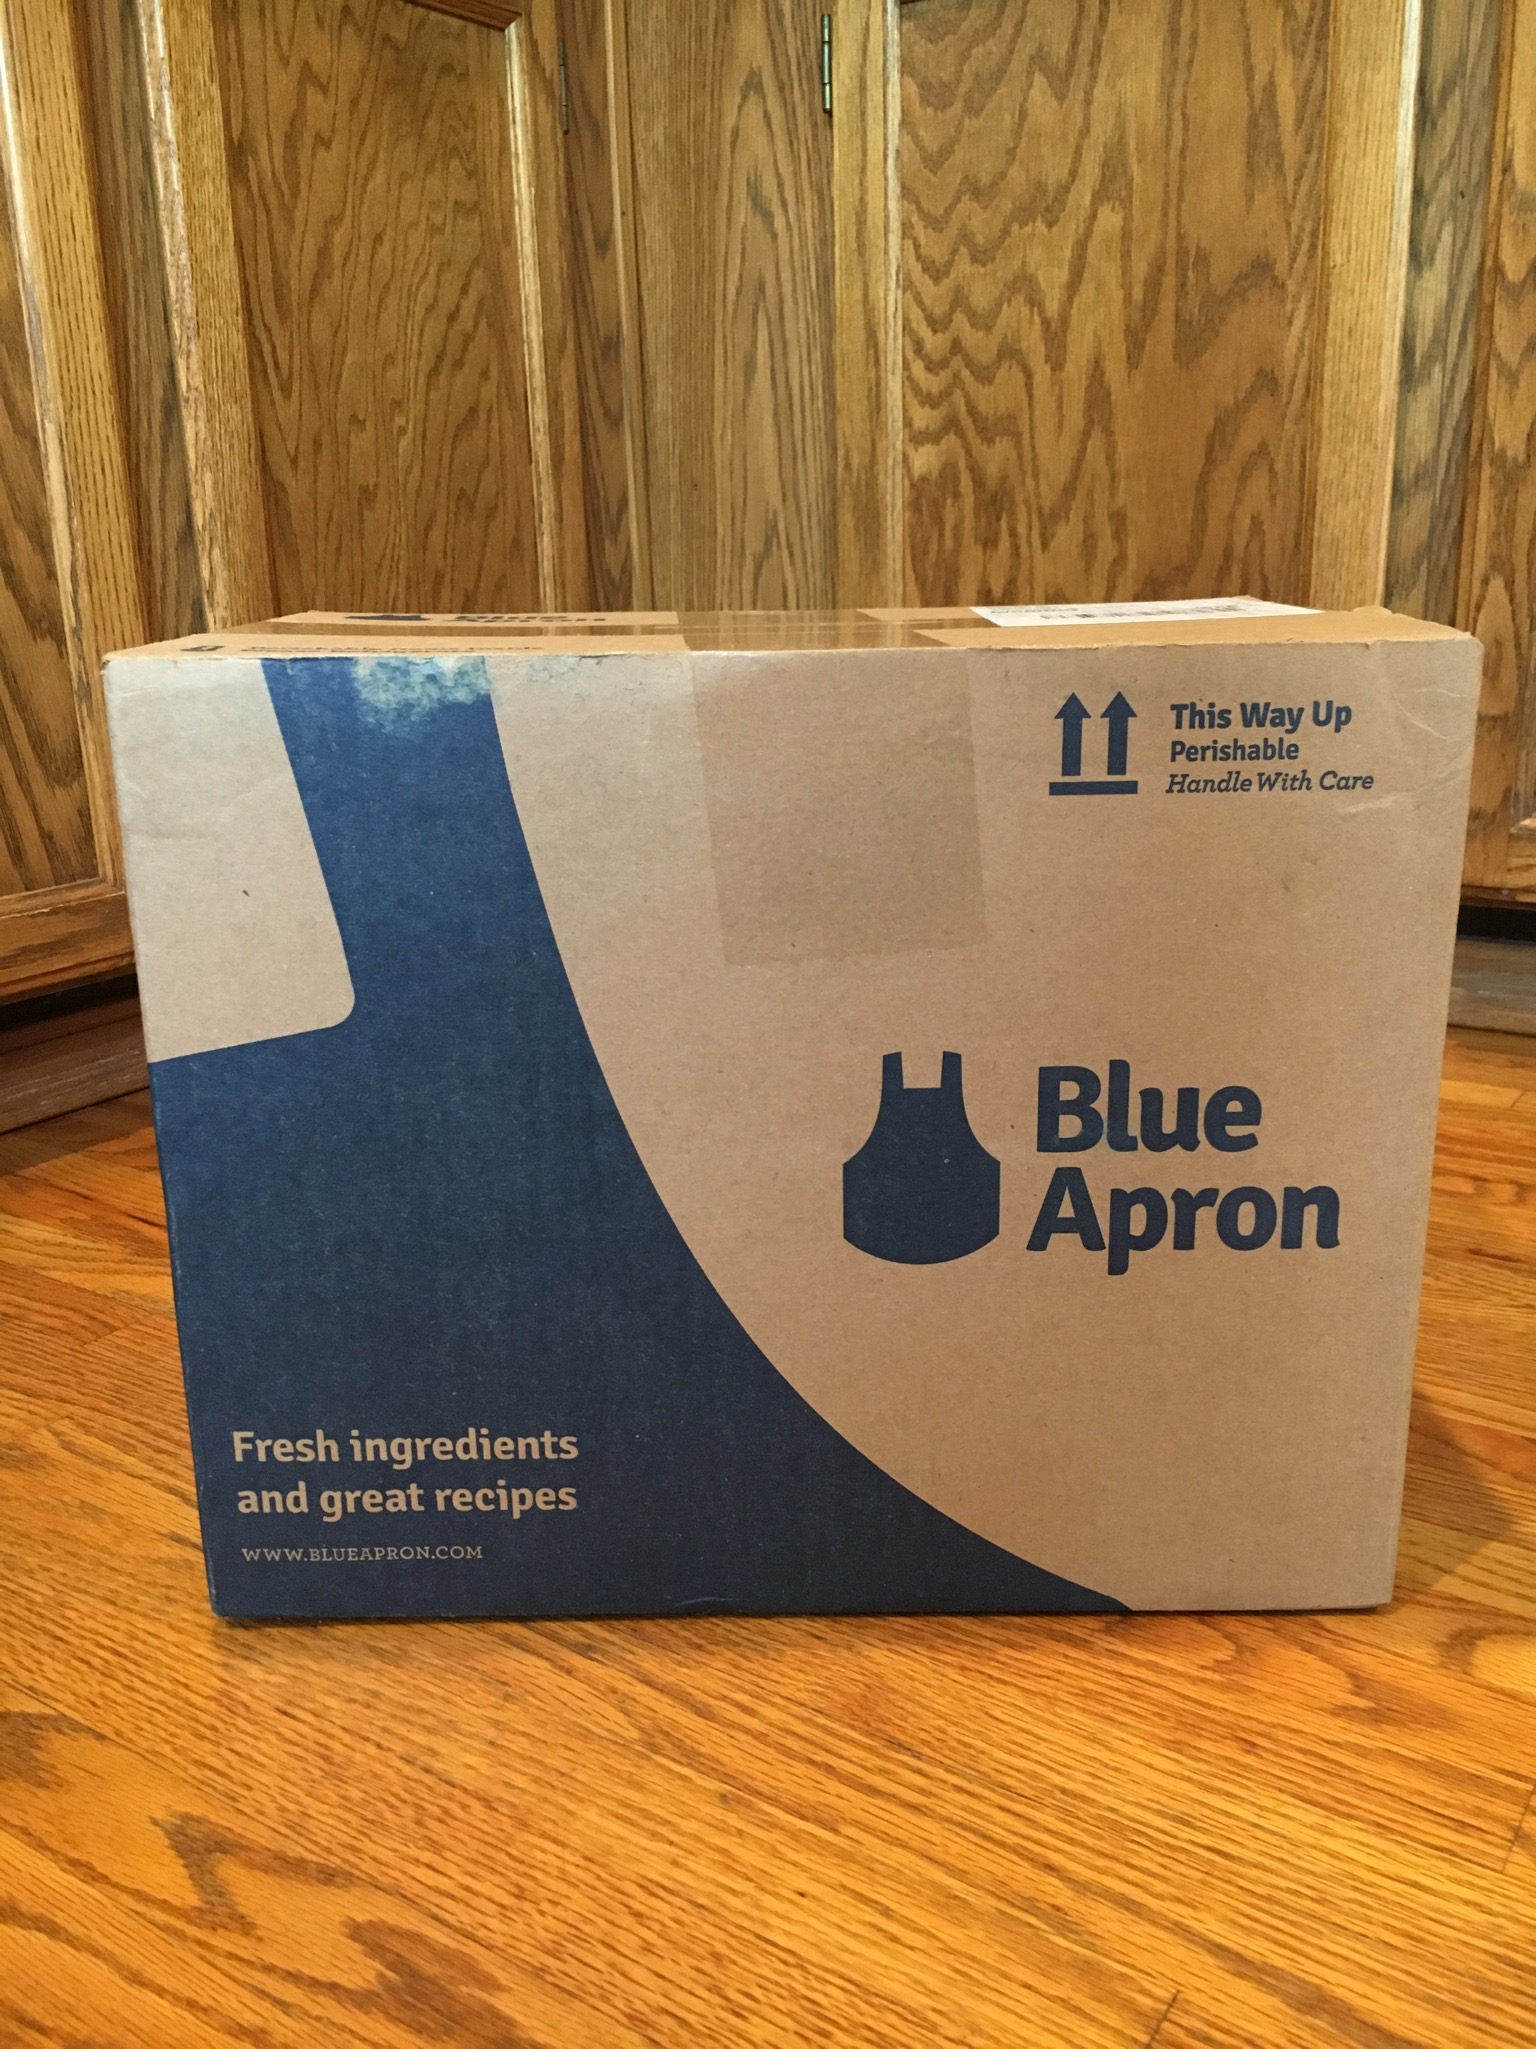
BlueApron_ExteriorBox
Blue Apron has arrived!

I’ve subscribed for a few weeks now and I’ll review our most recent box. The meals for our week were:

Cost

Blue Apron is $59.94 for 3 meals that serve 2 people. You can also choose a family plan of 2 meals for $69.92 or 4 meals for $139.84. This works out to just under $10 per meal, per person which is a little on the expensive side for a home cooked meal. However, everything that you need to make a meal (except for olive oil and salt/pepper) is included in the box. For instance, you don’t need to go out and buy a $10 bottle of yuzu in order to make 1 recipe.

One thing I dislike is that you’re immediately put on a “Columbia House subscription”, which you have to proactively DECLINE if you do not wish to receive the box. I would prefer to be on an opt-in model.

Dietary Plan

You can choose to exclude beef, poultry, fish, lamb, pork or shellfish.

Customizations

Each week there are 6 recipes available and you can somewhat customize your box, but not all combinations are available. I’m not sure why this is. Perhaps it is a cost issue?

Blue Apron Unboxing

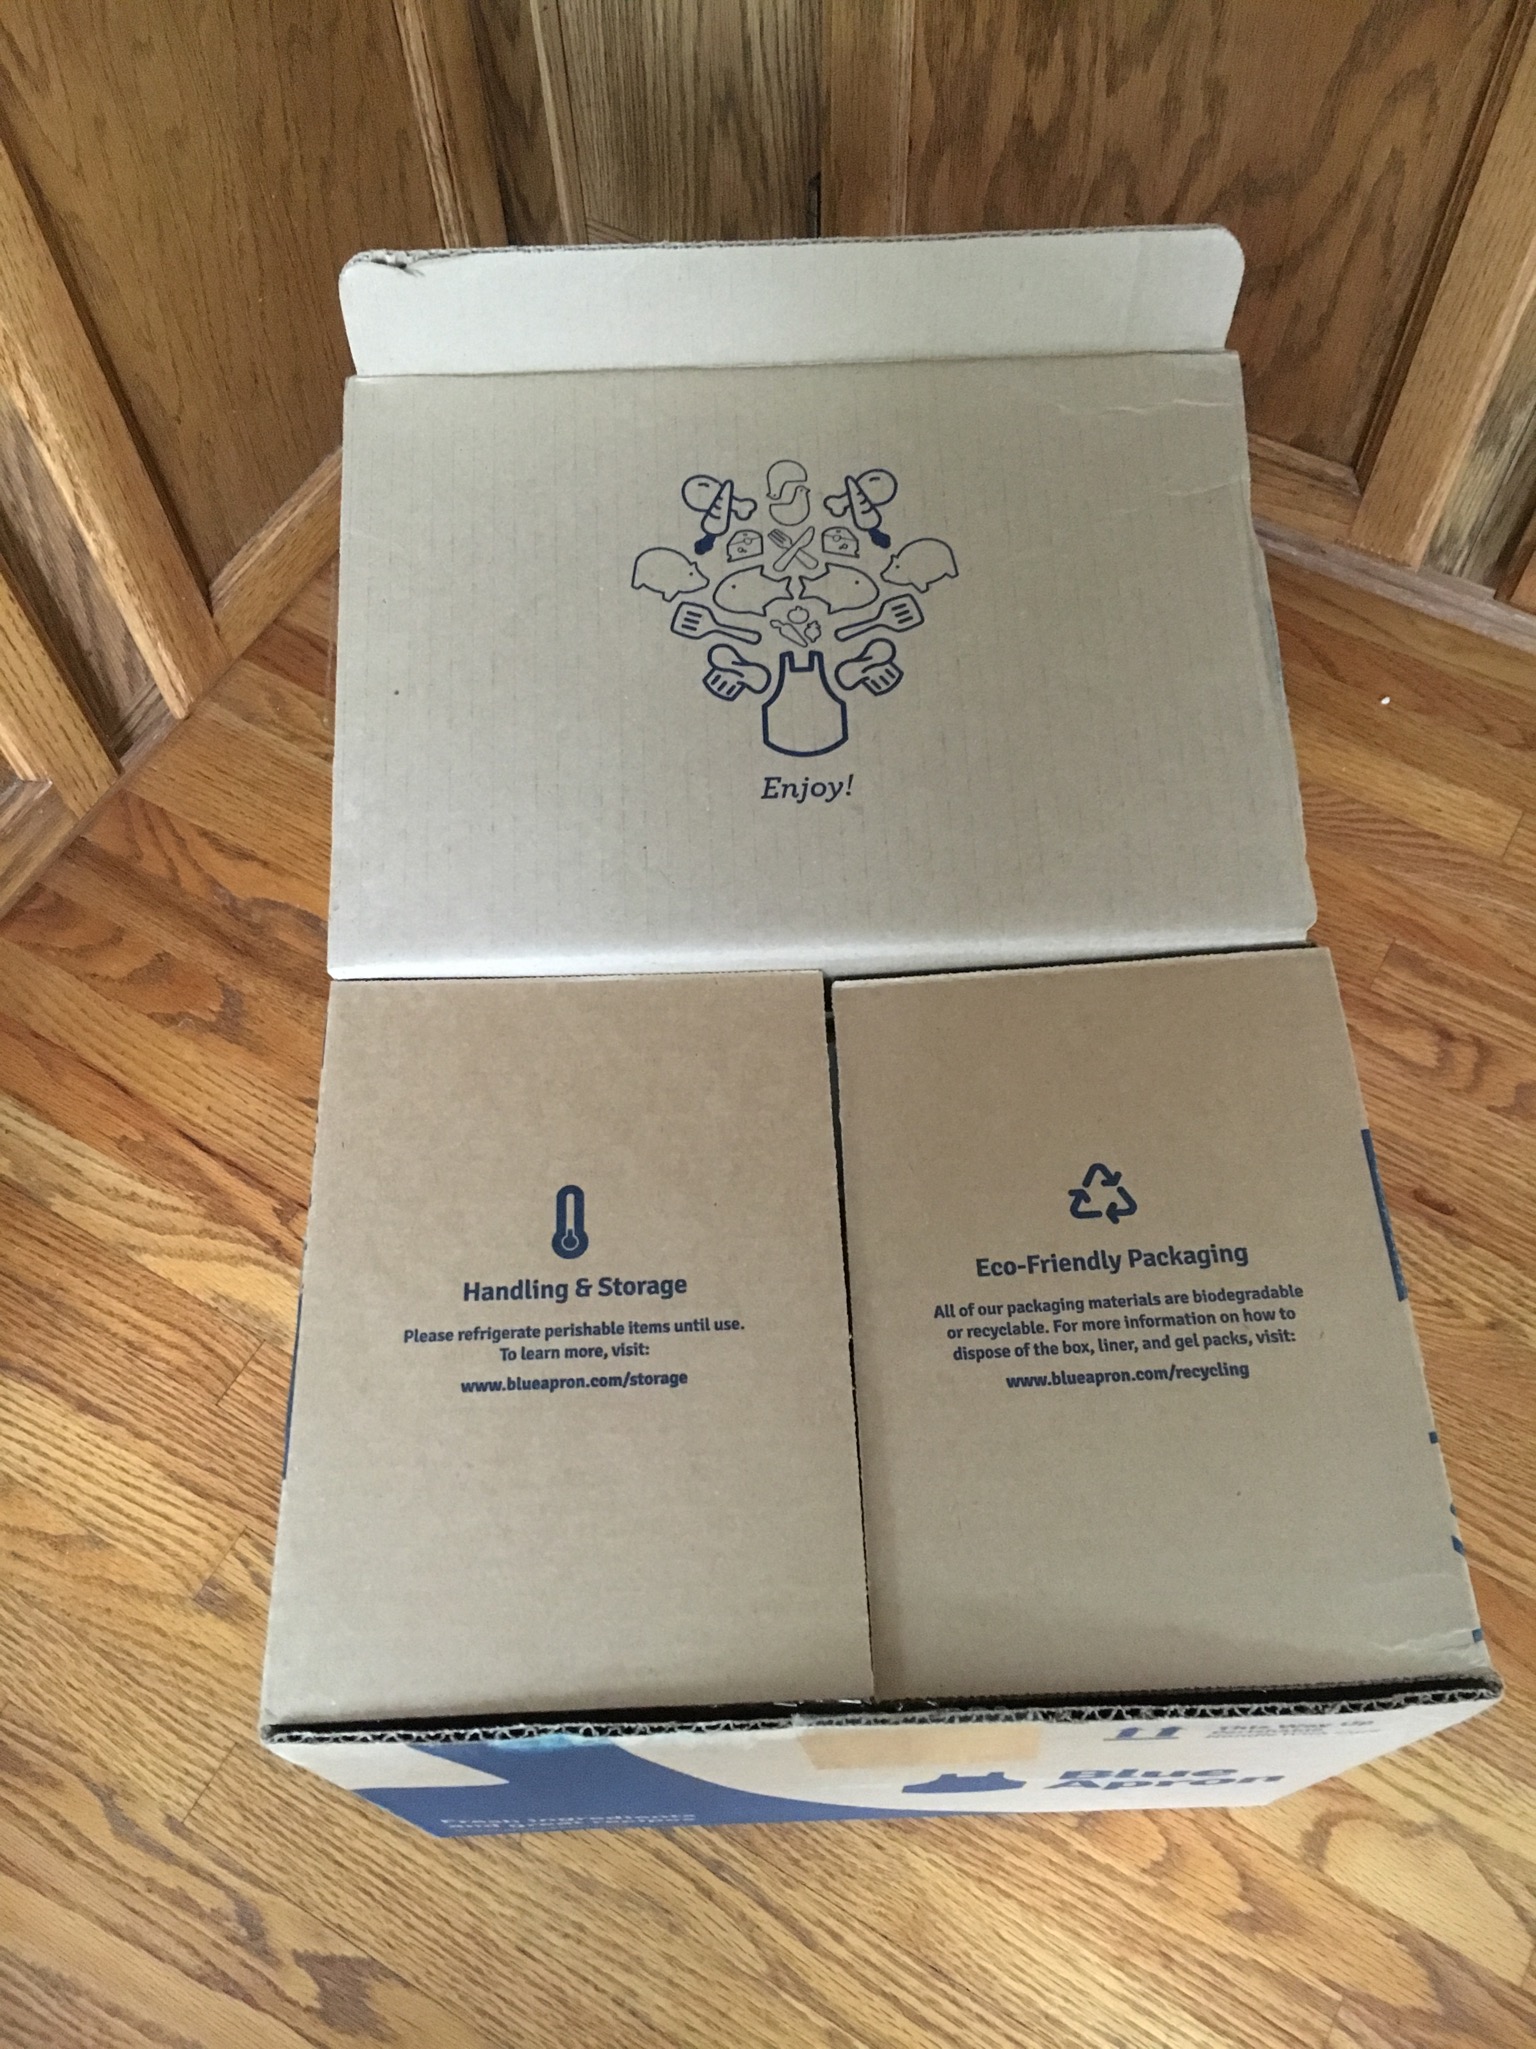
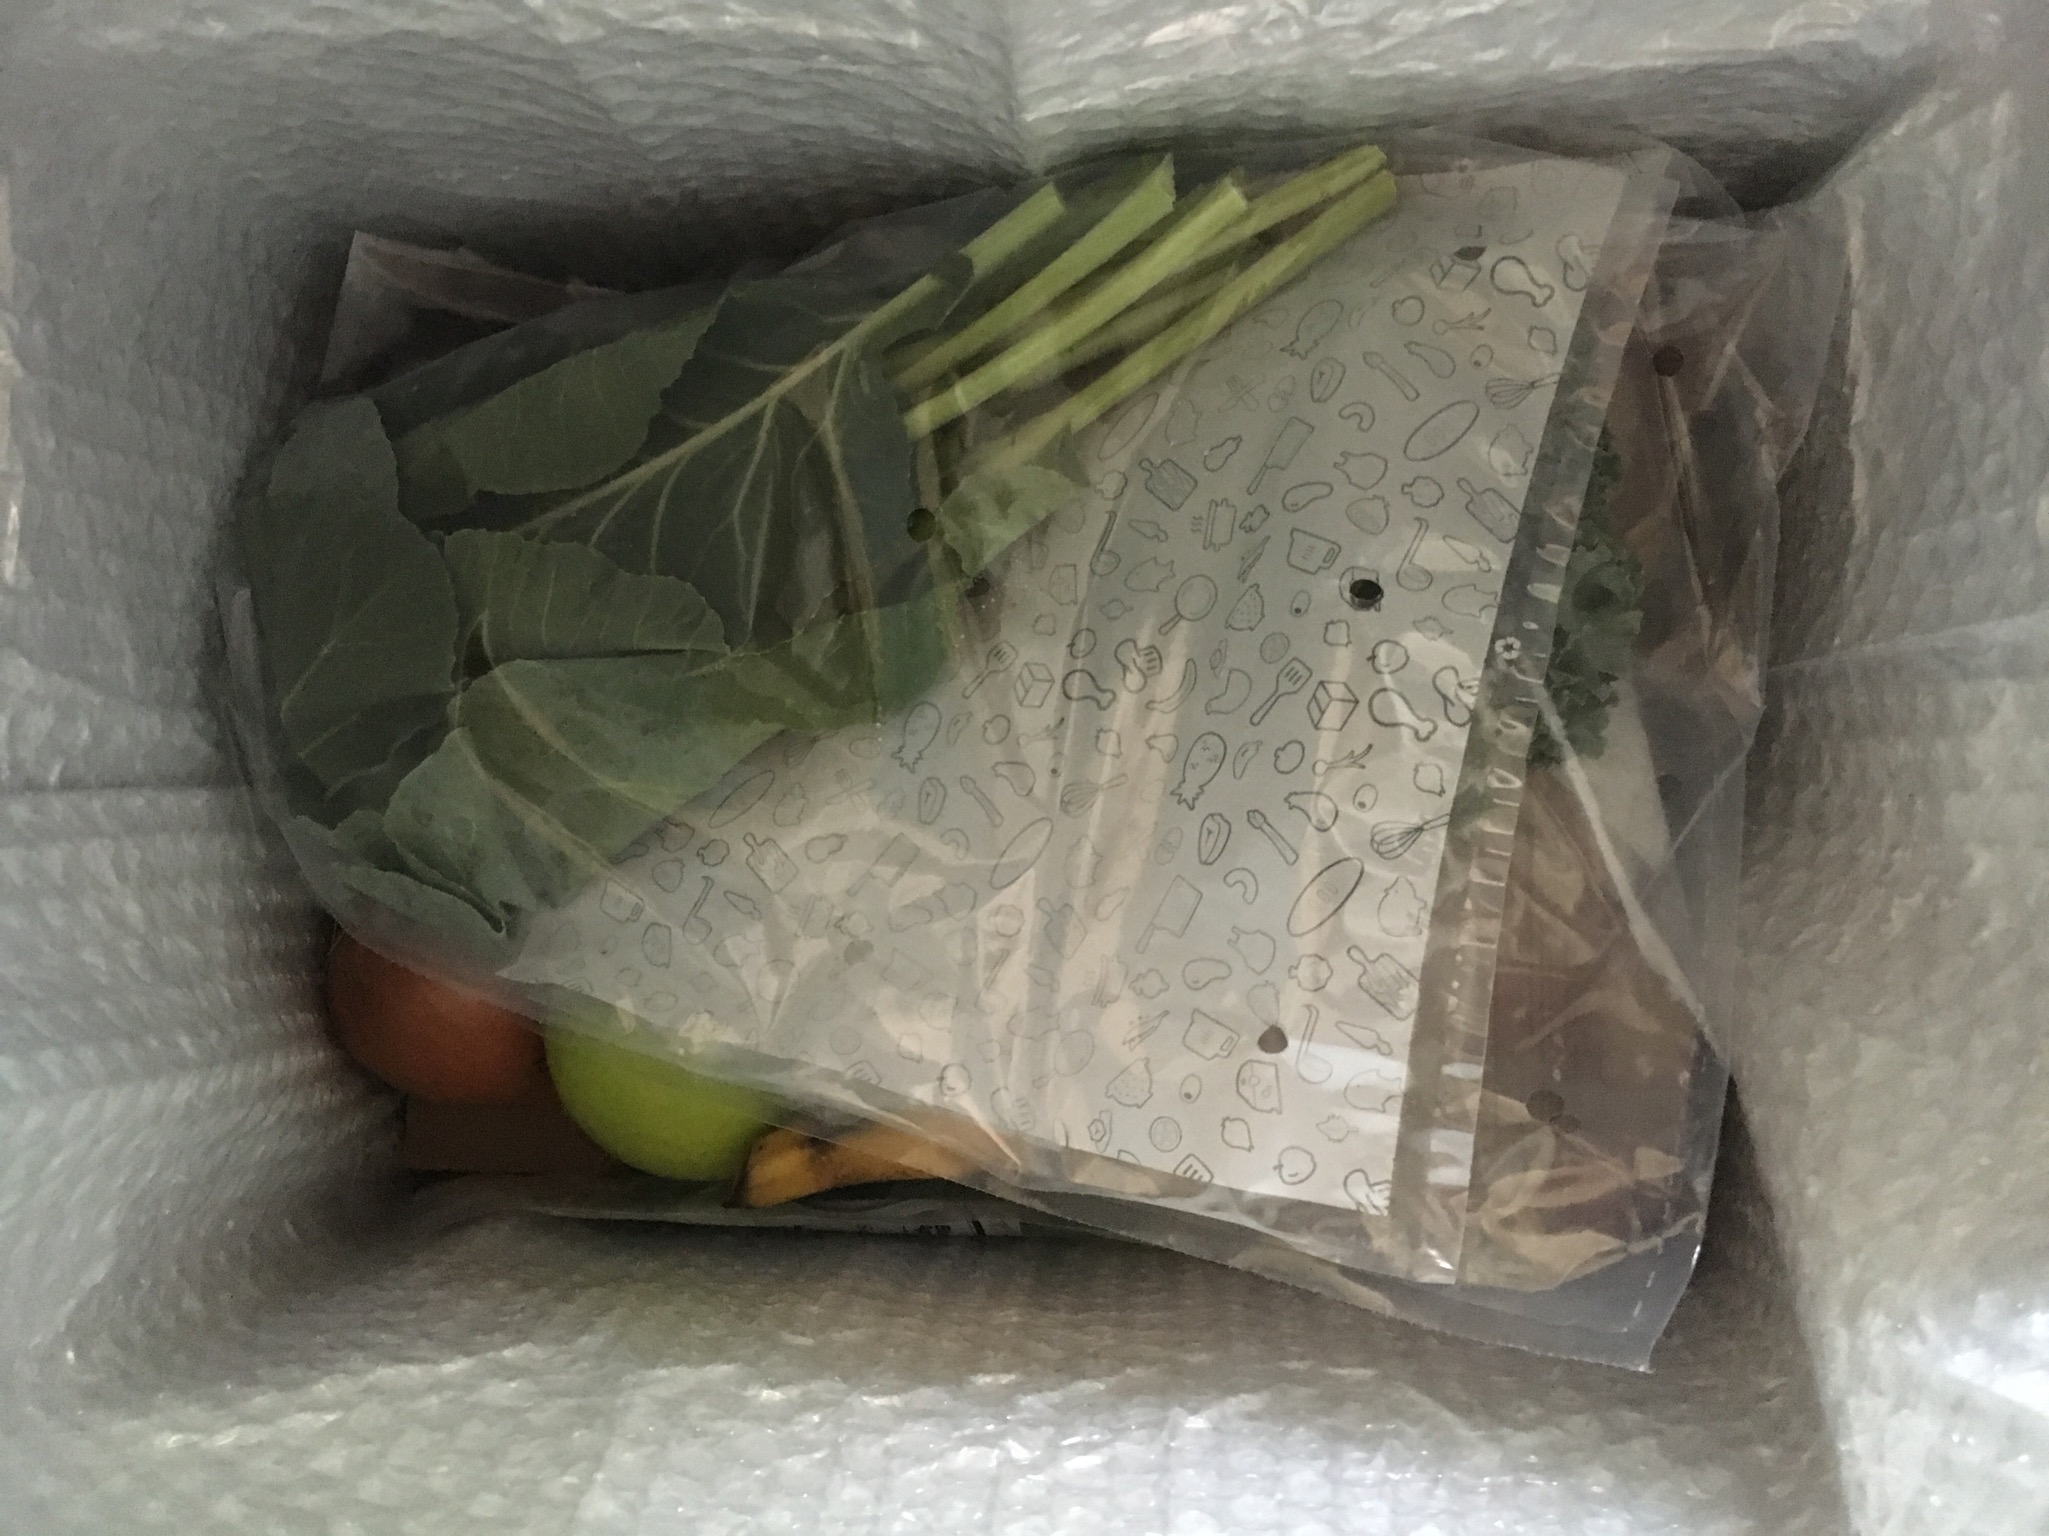
The meals come packed in a cardboard box about 15 lbs in weight. As you open the box up, you’re greeted with the beautiful recipe cards. All the ingredients are packed in a thermobag with big blocks of ice packed inside. Proteins are packed way at the bottom of the box between 2 blocks of ice. When the box arrived at my doorstep, the ice was still rock solid.

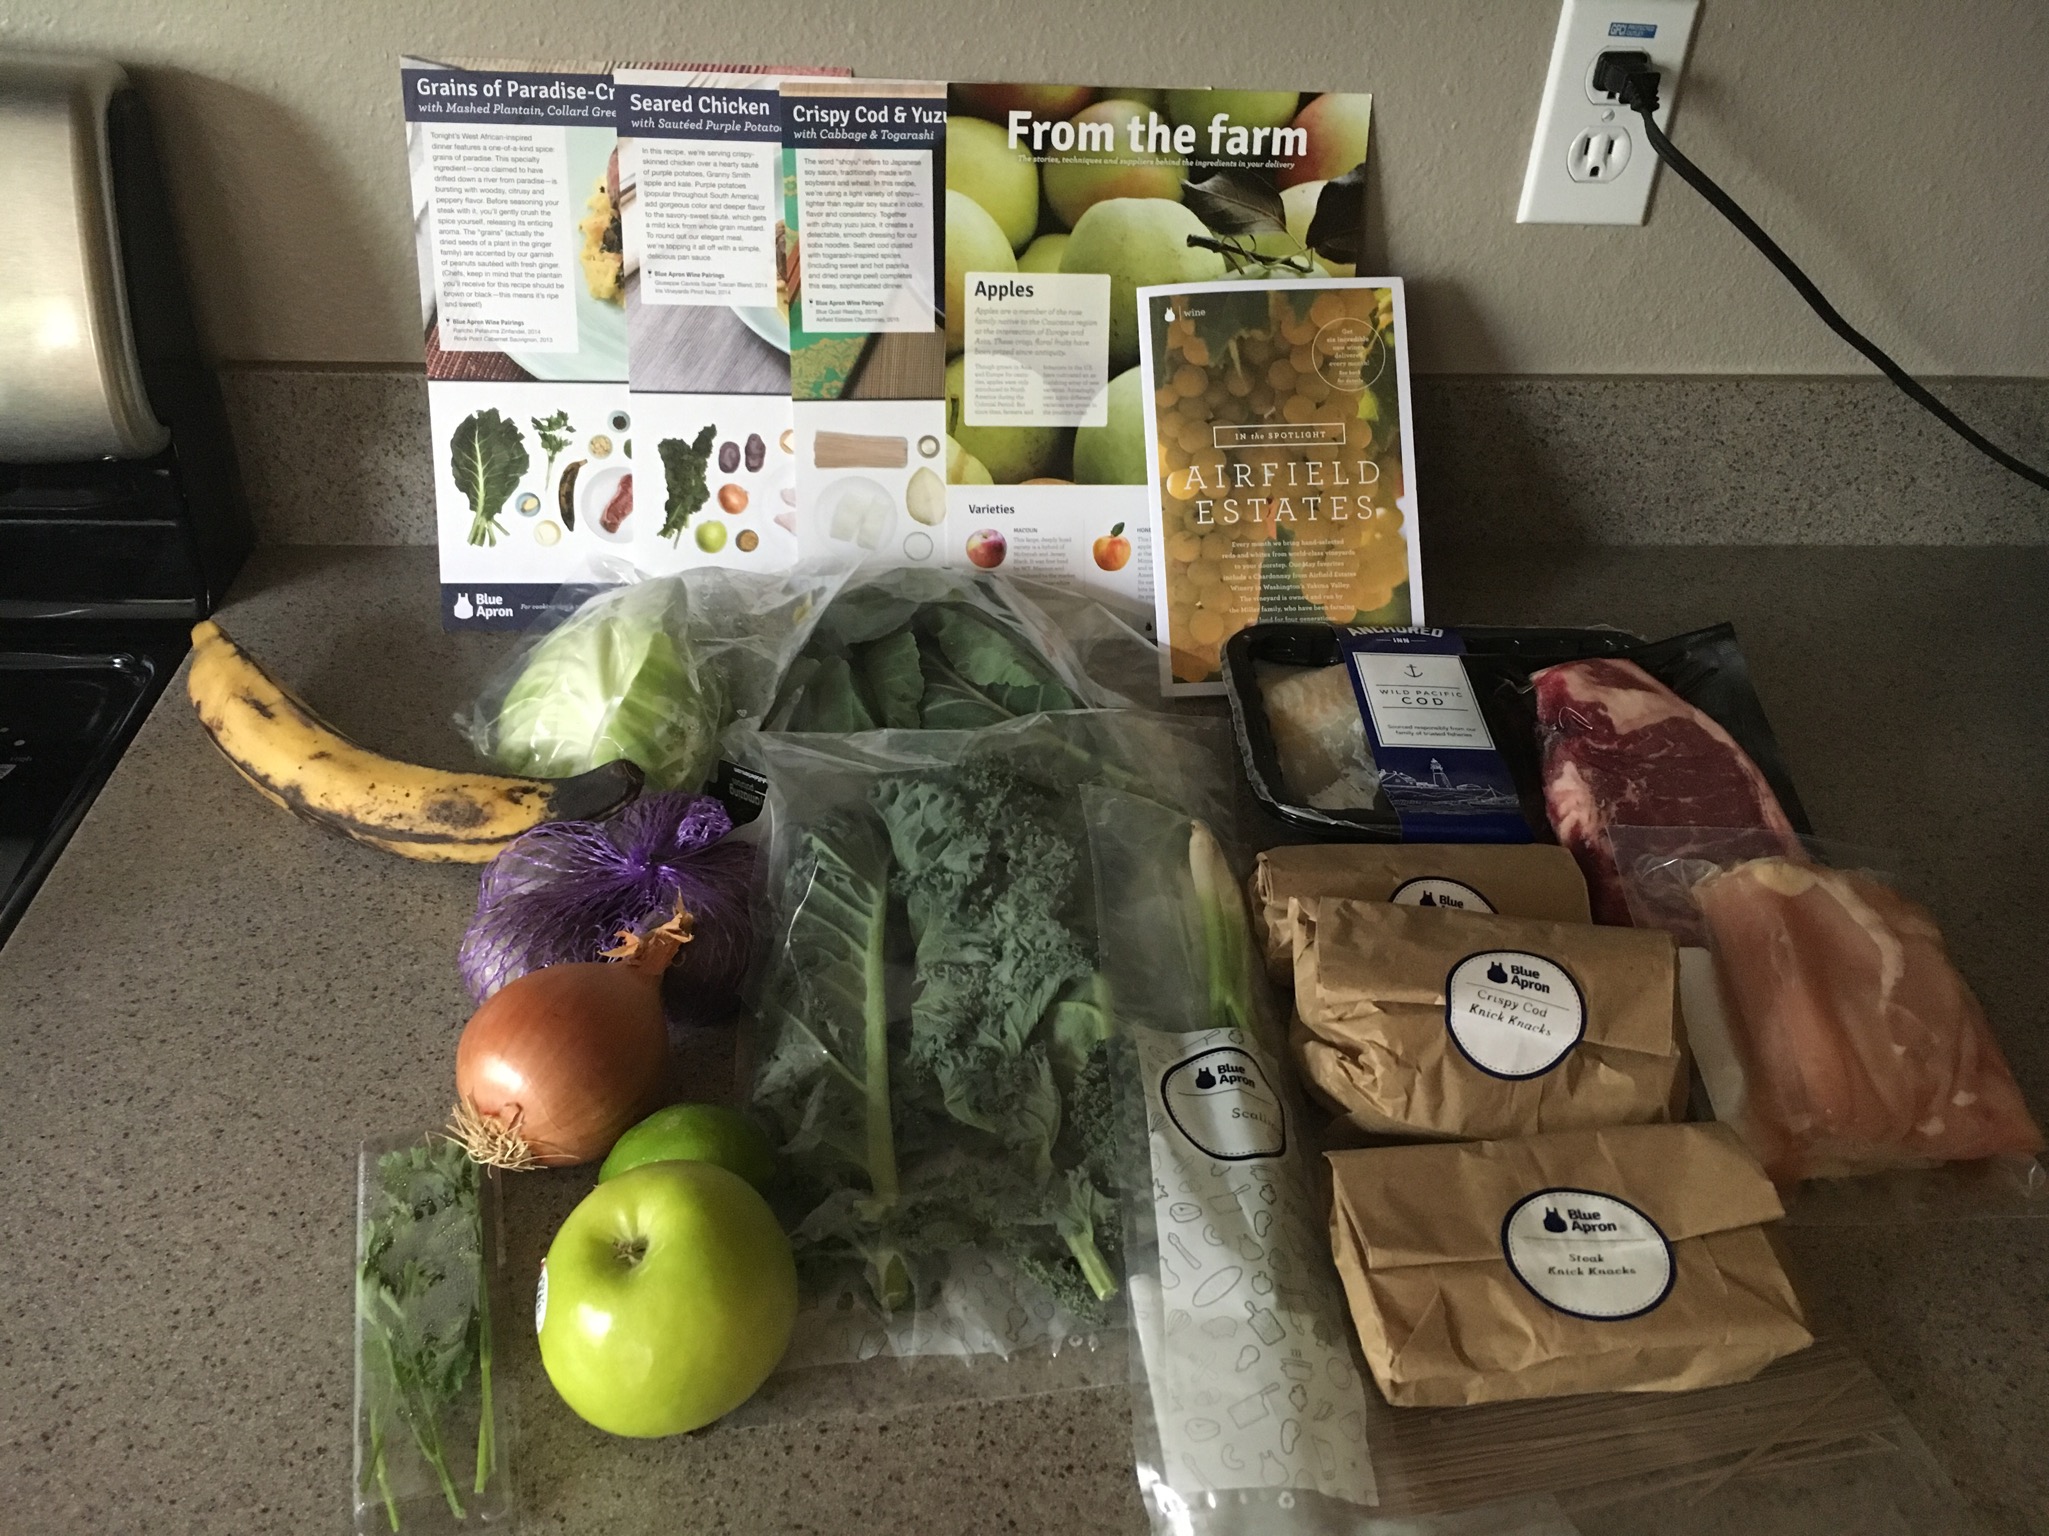
Here’s everything inside the box:

BlueApron_Box
Blue Apron Box
BlueApron_Unboxing
Thermo bag to keep everything cold
BlueApron_Unboxing3
Inside the box
BlueApron_Unboxing4
Everything inside the box!


Ingredients are labeled with what each one is, but they aren’t labeled according to which recipe they correspond to. There were 3 little paper bags with “knick knacks” for each recipe. Inside were the spices and any sauces/marinades that are used.

One common complaint I’ve read in other reviews is the amount of packaging that is used. I would agree with this. I felt a little guilty about the fact that the meals come with a fairly large carbon footprint. I know things can be recycled, but it would be great if they could work on reducing the number of plastic bags and containers used.

Blue Apron Cooking

The recipes come on beautiful full color, step by step illustrated cards. I thought that the recipes were fairly easy and accurate to follow. I don’t know if its because I’m an inexperienced home cook, but each recipe took more than the prescribed time to prep and cook. In most cases, it took me about 50-60 min for each recipe, when the card says I should be doing it in 30-40 min.

Grains of Paradise-Crusted Steaks with Mashed Plantain, Collard Greens & Ginger Peanuts

Portion Size

I found that each meal’s portion was quite small.  In general, the protein sizes were on the small side and there was generally not enough starch either (potato, noodles, plantain). After dinner, I was still a bit on the hungry side so I ended up eating desserts.

Taste

I really liked all 3 recipes included in this box. Even though I had signed up for the free trial awhile ago, I had skipped a few weeks because 1 or 2 of the meals in the box did not sound particularly great to me.

I was pleasantly surprised at how much I liked the different tastes presented because these aren’t the typical things I cook at home. I did skip over some of the steps (e.g. I omitted green onions because I dislike them, I omitted the ginger peanut sauce because I am not a huge fan of both those ingredients).  However, I have never had collard greens before and I liked them. I wasn’t sure how much I’d enjoy kale (I’ve only had it a few times), but it was delicious in the recipe provided.

Reading some of the comments ahead of cooking would have been helpful too. While I really liked the soba noodle sauce, it was on the salty side and had I read the comments, I would have known to use a little less than what was provided in the bottle.

Crispy Cod & Yuzu-Shoyu Soba with Cabbage & Togarashi

Overall Impression

I really enjoyed trying out Blue Apron for a few weeks. It got me to try out a bunch of new recipes, ingredients and tastes. I loved that the instructions were clear and showed step by step what to do. It was very convenient not to have to go buy a big bottle of 1 item, just to use 2 tbsp of it!

I’ve subscribed for a few weeks now, so I do like the service. I don’t always think every box sounds appetizing (or like something my family would enjoy), but I’ll keep subscribing for now.

BlueApron_Chicken
Seared Chicken with Sautéed Purple Potatoes, Kale & Apple (with some extra potatoes added in)


I received a free trial of Blue Apron via a friend, but this review is not sponsored by Blue Apron.

Liberty of London @ Nordstrom

Liberty of London has launched at Nordstrom’s Pop-In concept shop and I am loving the prints!  There are a few prints featured: Betsy, Theodora and Wiltshire.  Each one comes in a few color ways.

While I love Liberty, I’m not seeing anything that I *have* to have.  I love the dishware but a whole set is out of range for me (and I have no space for it!).  I might treat myself to an apron since it comes in my favorite print (Wiltshire) and is relatively affordable (for Liberty!).

Liberty of London @ Nordstrom Apron
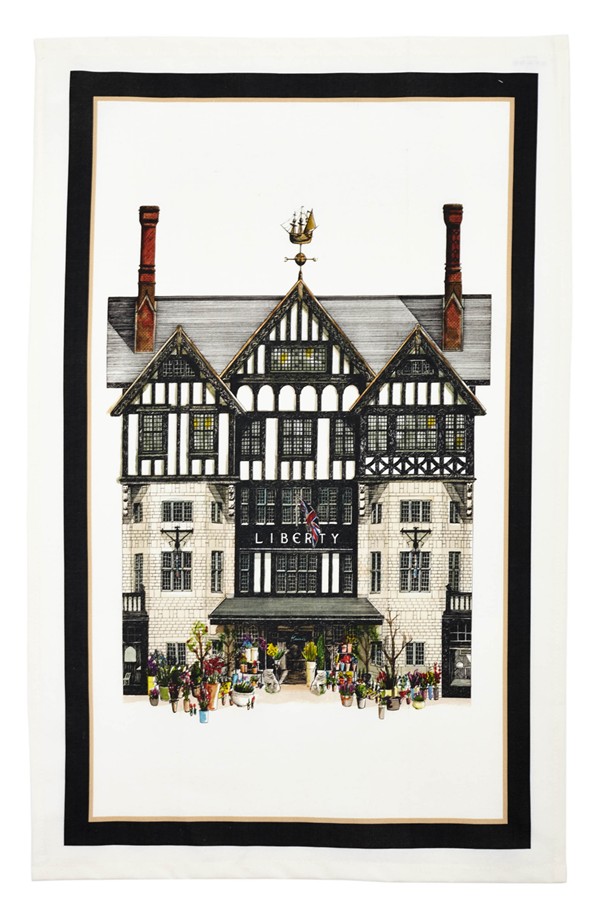
Liberty of London @ Nordstrom Tea Towel of the Liberty Building
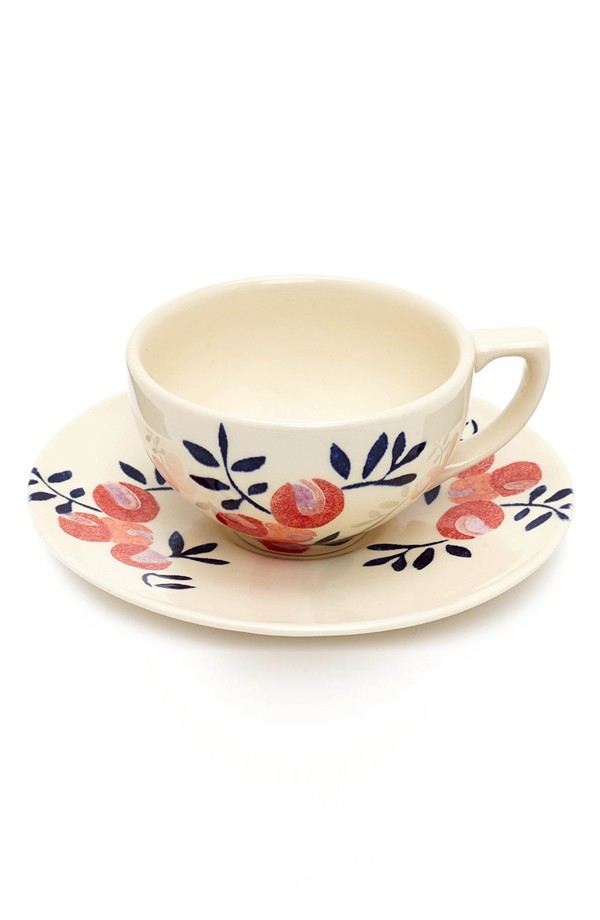
Liberty of London @ Nordstrom - Cup and Saucer (Wiltshire Print)
Liberty of London @ Nordstrom – Cup and Saucer (Wiltshire Print)

Any other Liberty of London fans out there?

Liberty of London Union Jack


Review of the Pottery Barn Daily System

April 2017 Update: From the comments, there have been TONS of issues with the whiteboard calendar bubbling. Since I don’t have this piece, I haven’t experienced it myself. If any of you readers would like to submit a photo so I can post it here, please send it in. I can be reached at shoppingismyworkout @ gmail dot com.  Thanks 🙂

Ok so in my last post, I detailed how I fell in love with the Pottery Barn Daily System and how it took a month for it to all arrive at my doorstep!

Pottery Barn Daily System Review
Pottery Barn Daily System

Now onto a review of the daily system itself!

First off, I love how there are so many components for various purposes.  I love that you can build something totally custom to what your needs are.

Second, I think it is generally well made.  The pieces feel solid and the paint is well done.  I’m happy with how it looks on the wall, but getting it mounted was another saga.

I had my husband help me with the whole process and we both got really frustrated with how difficult it was to mount and with how long it ended up taking.

First, we pasted the paper template to the wall where we wanted the display rod to go.  I love that Pottery Barn includes mounting templates!  (They also include them with the Gallery Wall frames which were IMMENSELY helpful!)

We made sure that the template was level, then we figured out whether or not we need to use the drywall anchors or not.  It turns out we were not going to be able to use any studs so we had to screw in the anchors first.  Next we screwed in the screws for the display rod.

Pottery Barn Daily System Mounting Bar
Pottery Barn Daily System 24″ Display Rod

We slid the linen pinboard into the rod to check it out and we came upon problem #1: the pinboard was not even CLOSE to being flush with the wall.  The display bar was ever so slightly angled and this was causing the pinboard to “kick out” about a 1/2″.  We loosened the display bar slightly and got the pinboard to hang a bit better.  You can see below, we never actually got it fully 100% flush with the wall, but its close enough.

Pottery Barn Daily System
Pottery Barn Daily System – not 100% flush with the wall

The next problem I noticed was that the pinboard was crooked–really, really crooked.  We were so confused because we had made sure that the anchors were all going into the wall in a straight line.  We checked and rechecked and couldn’t figure out what was wrong with the mounting bar.  I had a mini level (like this one) that came with a photo frame so we used that to check that the display bar was perfect.  Then we started checking the pinboard for clues.  Turns out that the pinboard’s hooks were problematic.

Pottery Barn Daily System - Pinboard
Pottery Barn Daily System – Pinboard

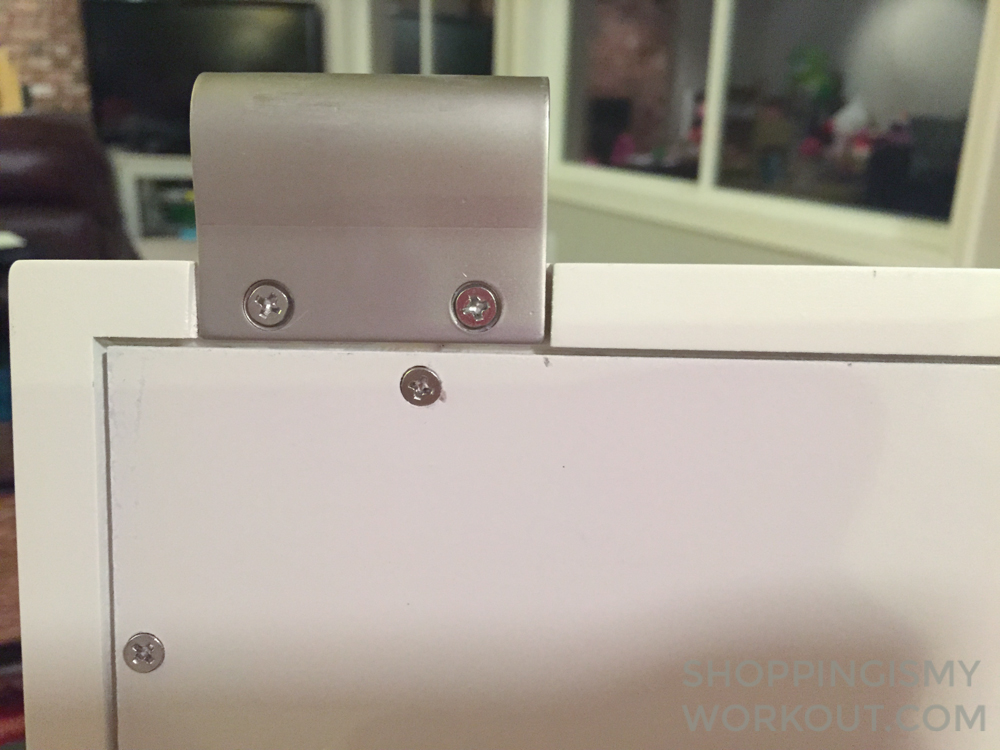
As you can see, the pinboard hangs on the display bar via those two hooks.  The hooks slide into the cylindrical space on the display bar.

Pottery Barn Daily System - Hinge
Pottery Barn Daily System – Display Hook

Unfortunately, pinboard’s hooks were not mounted evenly.  Fortunately though, they were screwed in and not hammered in, so they were relatively easy to adjust.  My husband made a few adjustments and we were able to make it so that the pinboard was less crooked.  Ultimately, there wasn’t enough “give” in the positioning to make it perfect but it is fairly close now.

Once we got the pinboard up, the lower letter bin and organizer were much easier.  I made the mistake of ordering 2 separate 12″ bars. I really should have ordered a single 24″ bar, but oh well, it is fine. I couldn’t figure out how to snap the “joining” piece onto the 2 half sized bars so we left that out.

Pottery Barn Daily System
Pottery Barn Daily System – Hurray! We finished!

Ultimately, the daily system ended up being ever so slightly crooked.  The pinboard hangs slightly to the left due to the unbalanced hooks.  It was a 1/4″ difference before we adjusted everything and now its closer to 1/8″.

Because the pinboard is not straight, the lower level did not align with the bottom of the pinboard.  We ended up “cheating” everything over slightly so it aligned.  If you look really closely, the components are not 100% lined up with the display bars.  We tried to make it look as straight as possible because just outside of the photo above is the end of the wall, making it really obvious that it ever so slightly crooked.

Overall, I’m fairly happy with the purchase, but I don’t know if I’d risk the marital strife and stress again!  I am a bit OCD about having everything line up and be square and it bugs me a little that it isn’t.  Hopefully once we use it for awhile I won’t notice anymore 🙂

Let me know if you have any questions about the Pottery Barn Daily System.  I’d be happy to answer!  Btw – I noticed that the daily system is on sale for 20% off and free shipping now!  Woohoo!